Step 1 – Chill
Ice your keg. The whole keg, not just the bottom third. This will help you later with pouring a perfect head, and not a cup of foam. A large bucket, or garbage bag can help you stuff ice around the sides of the keg and keep it tightly packed. Leave the keg to chill for several hours. Don’t forget to also ice your tap and beer line for about an hour before you pour.
Step 2 – Connect
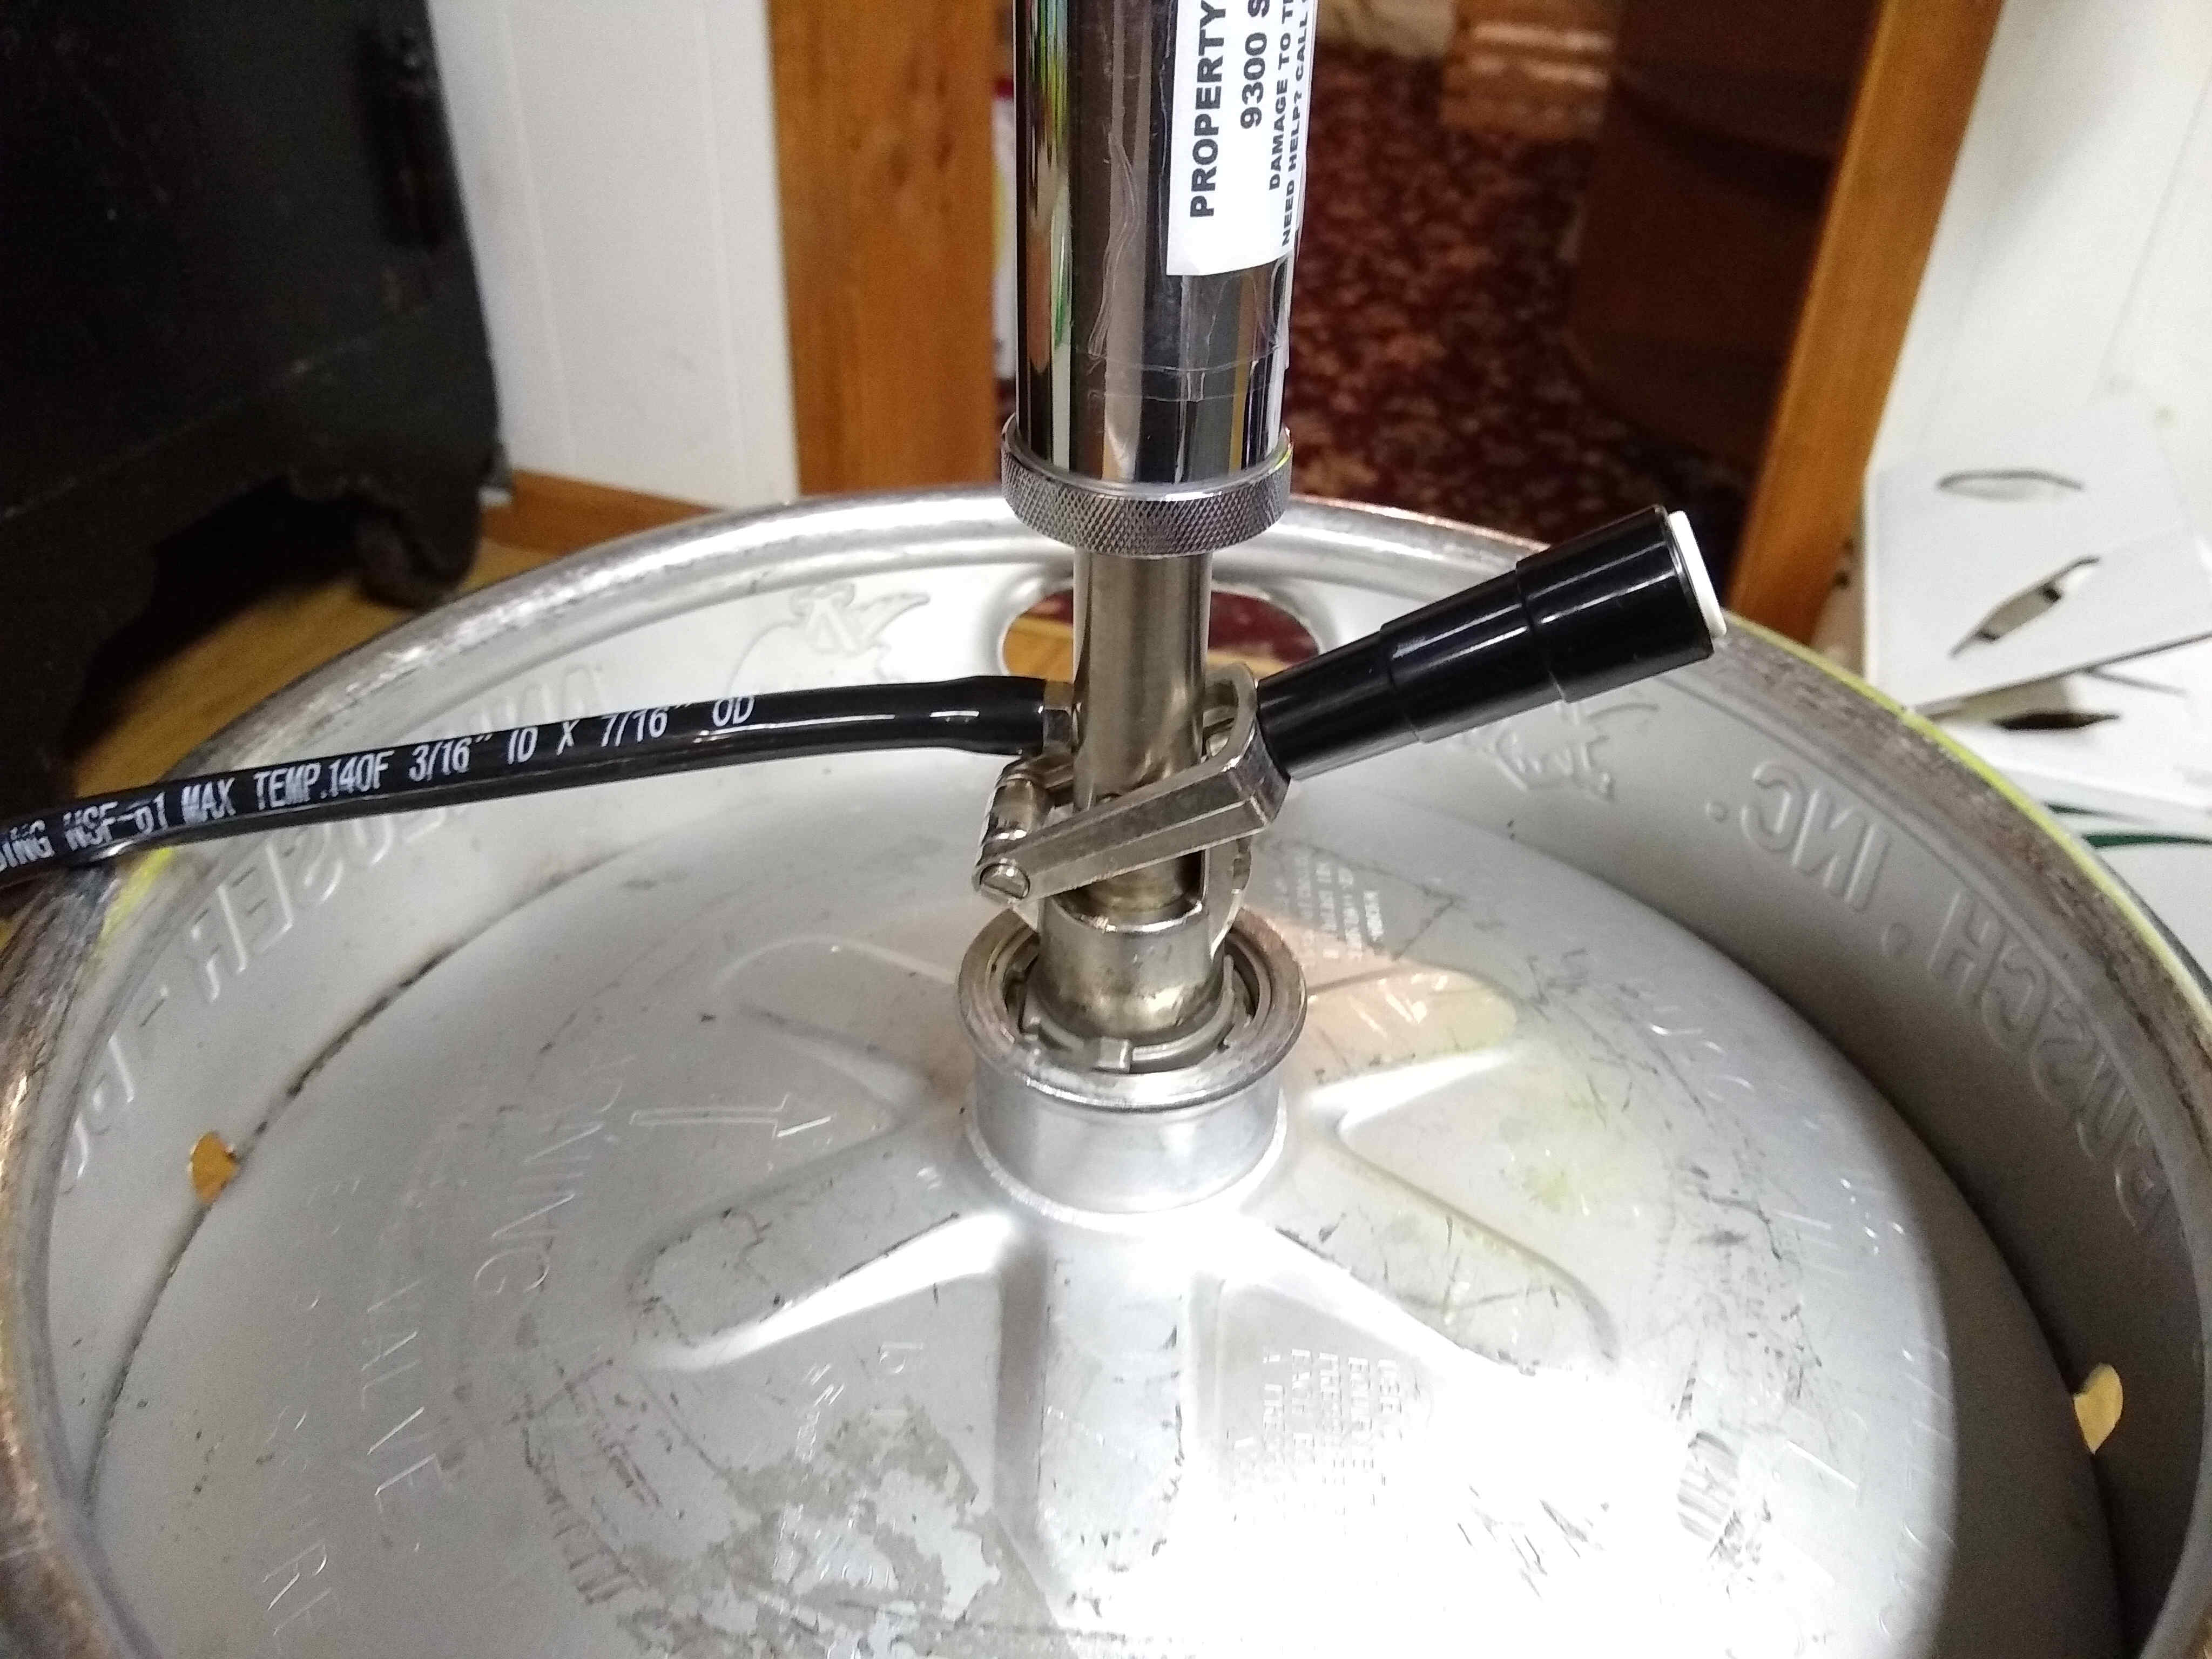
Remove any plastic or cardboard from around the tap fixture at the top of the keg. With the pump handle up (this is the off position), line up the coupler lugs with the corresponding openings on the keg valve. While applying downward pressure, turn the tap system clockwise as far as it will go (about 90 degrees).


Step 3 – Engage
Push the pump handle down (this is the on position). This allows gas to enter the keg, and the beer to flow out. Check the seating. If you see bubbles around the connection, then it is not seated correctly and you will have to turn the pump handle back off and disconnect the pump and try again.

Step 4 – Pour
With a full, new keg, you will not have to pump for the first few pints – there is already enough pressure within the keg to get the beer flowing. Simply push down on the valve at the end of the beer line, and pour into your drinking vessel. It is very likely that the first pint will be all foam. This is usual, and you can either set aside or discard. After pouring several pints, you may wish to use the pump to build up the pressure in the keg again from the displaced liquid.
Bonus Pro Tip: Open the pouring valve first, then pump the handle until your drinking vessel is full, then stop pumping. Only pump with the pouring valve open.

